Paper Plate Polar Bear : Arctic Circle Mini Series
AGE RANGE
The project should easily be accomplished by ages 4 and up with help from a parent or guardian.
APPROXIMATE TIME
30 min - 1 hour
As a continuation of our arctic animals series, this week with ARTmobile@home we will be diving into the chilly world of the polar bear!
EDUCATIONAL OUTCOME
Kids will learn about polar bears and their arctic environment while creating a fun hands-on art project!
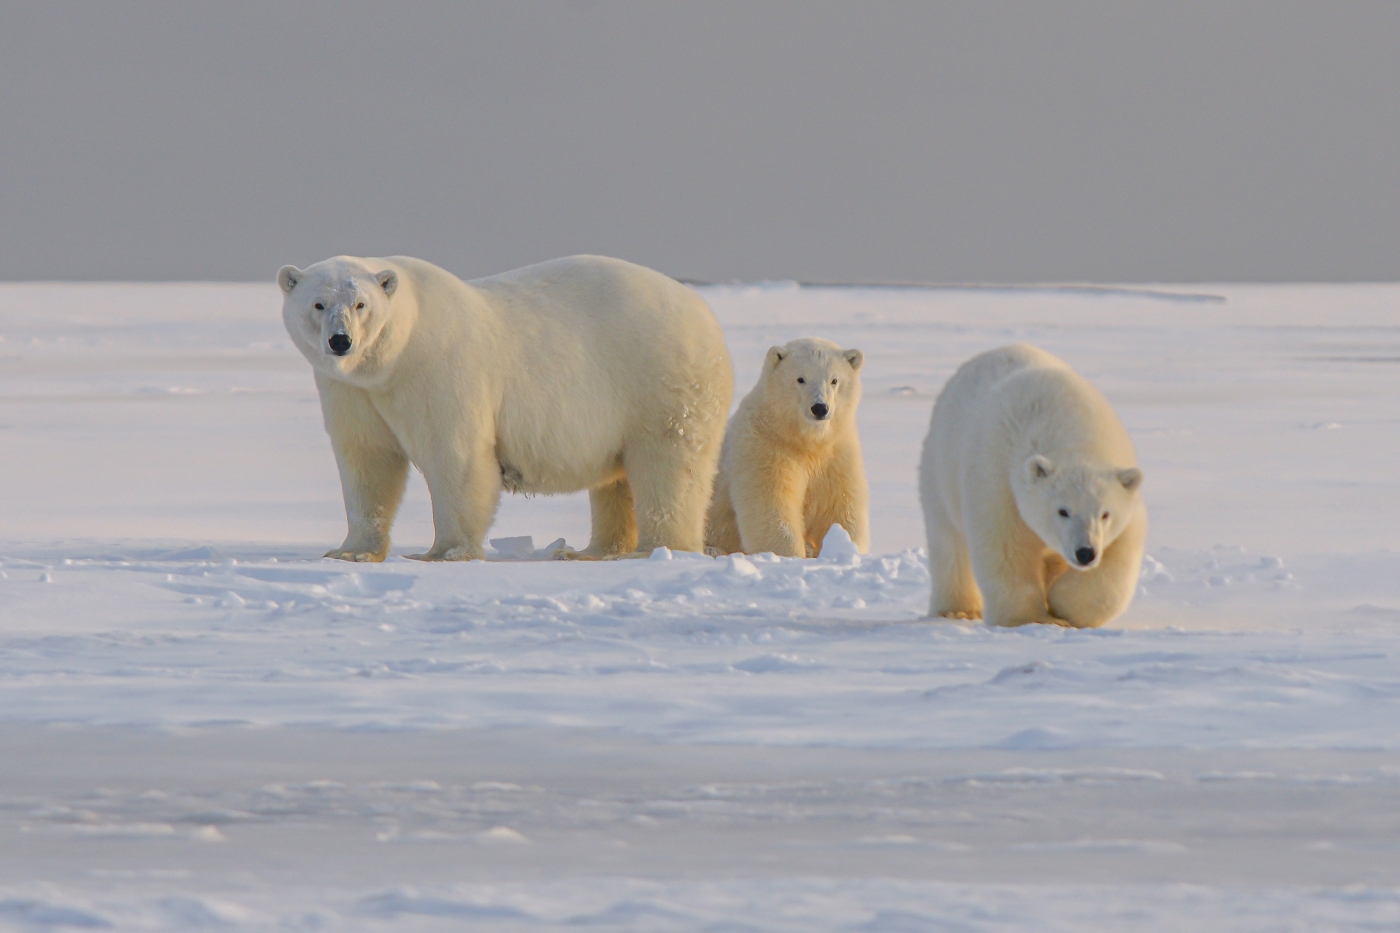
Photo by Hans-Jurgen Mager
Weighing up to 1,500 pounds and standing at 10 feet tall on their hind legs, Polar bears are the largest bear species and the world's largest land predator.
Living along shores and on sea ice in the Arctic, polar bears spend a majority of their time swimming and hunting for food such as seals and fish. Polar bears can actually survive up to three straight days swimming in icy cold waters of the Arctic! Because of this, they are actually classified as marine mammals.
Polar bears stay warm due to their fur which, despite seeming pearly white fur, is actually translucent and reflects light which makes it appear to be white. Their fur also acts as camouflage to hide from other predators and helps them disguise themselves while hunting for food.
Learn more about polar bears from the National Geographic Kids website.

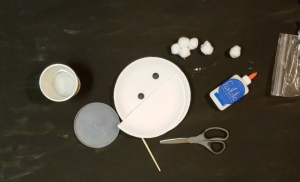
- Paper plates
- Cotton balls
- Glue
- Scissors
- Stapler
- Black paint
- Paintbrush
- Buttons
- First, take a cotton ball and paint it black, only leaving the cotton fiber between your fingers white.
- Take the five to ten remaining cotton balls and pull their fibers apart.
- Next, take the cotton ball fibers and glue them onto the paper plate, completely covering its entire surface.
- Now take half of a paper plate and cut it in half again.
- Round out the points of each half and cover with the cotton fibers and secure the ears to the head with a stapler.
- Next, take two black buttons for the eyes and glue them down.
- For the nose, place the black cotton ball in the middle and secure it with glue.
- To define the ears, paint half circles in the ears to make them look more realistic.
- Lastly, paint a black line underneath the nose, add a smile, and then you are done!

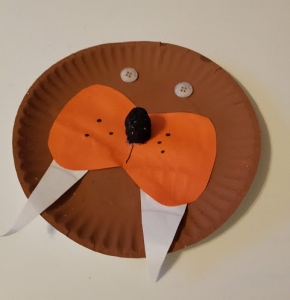
Check out our previous project about the Walrus.
Explore the Arctic