AGE RANGE
The project should easily be accomplished by ages 4 and up with help from a parent or guardian.
APPROXIMATE TIME
30 min - 45 min + time for materials to dry
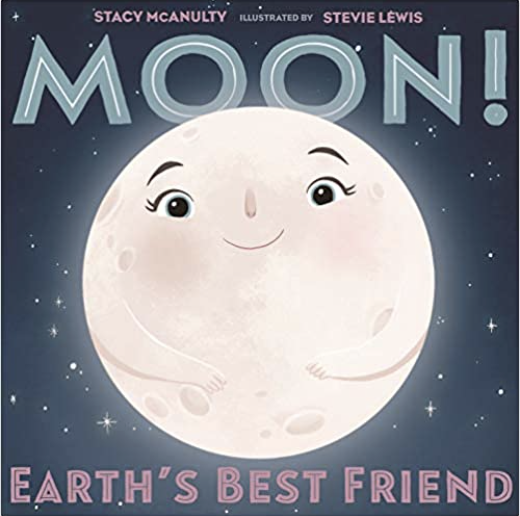
Our project this week, explores the surface of the moon and how it is different than the surface of the earth. Let’s read the book Moon! Earth's Best Friend by Stacy McAnulty together and create craters on our own moon in this project using aluminum foil.
EDUCATIONAL OUTCOME
We will learn about the moon and how it is different than the earth for several reasons.
The surface of the moon has a lot of deep holes all over it. These holes are called craters. They are formed when pieces of rock and space debris crash into or impact the moon’s surface. These pieces of space debris are called meteoroids or asteroids.
Moon craters can be big or small based on the size of the object that hits it and how fast the object is moving.
The Moon has more craters than Earth because it does not have an atmosphere like Earth does. When space debris flies toward Earth it must travel through our atmosphere and usually burns up before it hits the ground. When we see shooting stars, we are looking at the debris flying through our atmosphere. The Moon does not have an atmosphere like Earth, so the pieces of rock do not burn up and hit the surface instead.
Craters also last longer on the Moon because weather is not affecting the surface of the Moon like it does on Earth. There is no rain, wind, or growing plants to wear down or erode the craters or cover them up.
Follow along as we read Moon! Earth's Best Friend by Stacy McAnulty
Listen to the book
Tune into our favorite Moon Song, " Time to Shine," by StoryBots
Next Step to Advance your Knowledge
- If you want to see how the surface of the moon is affected by space debris use kinetic sand or make some moon sand or cloud dough in a shallow pan and drop small pebbles, rocks, marbles, or other items into it. Once you remove the items you can see how the impression stays and is affected by items being dropped on the surface. There are many easy recipe variations online.
- Look at NASA or other space websites for crater images to show examples of what the moon really looks like up close.
- If you have a telescope, you could spend time looking at the moon under different magnifications.

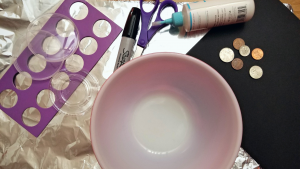
- Scissors
- Aluminum foil
- Large bowl
- Marker
- Glue
- Sheet of black paper
- Small circle templates - Lids, coins, caps
- Optional items to decorate your sky
- Take a sheet of aluminum foil and draw a circle on it using a marker and bowl.
- Using scissors, cut out the circle.
- Gently crunch your aluminum foil and use your template to press circles on the surface.
- Place coins and lids under the aluminum foil and rub over the top with your finger to make textures and indentations. These will become our moon’s craters!
- Flip the aluminum foil over and place glue around the outside edges.
- Place the glue side down onto the black paper to create a scene of your moon in space.
- Feel free to make a full scene with stars, planets, rocket ships or other items once your moon dries.
- Allow to dry and then display your moon!