Flowerpot Creature
AGE RANGE: PROJECT SHOULD BE EASILY ACCOMPLISHED BY AGES 4 AND UP WITH HELP FROM PARENT OR GUARDIAN
APPROXIMATE TIME: 30 MINUTES TO 1 HOUR
 Spring has sprung! We're jumping into the Spring season by creating your very own flowerpot creature, all while being conscientious of the Earth by using recycled materials. Let’s have some fun!
Using milk jugs, empty coffee cartons, or really anything else that is either plastic or metal based we will create flowerpots. We can use paint or any other kind of durable, waterproof materials to decorate the outside of the container. Then, place dirt in the pot along with seeds of choice.
EDUCATIONAL OUTCOME:
Kids will get to explore their creativity by designing their own monster, all while learning about plants and how to grow them by making their own flowerpot.
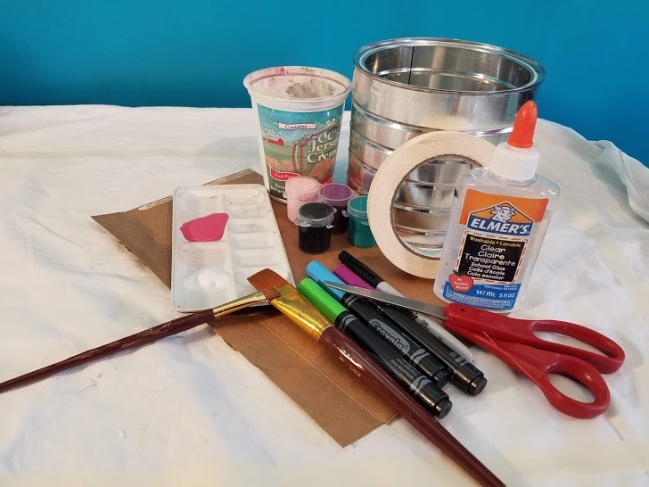
Art Materials Needed
- Milk jog, coffee container, or another upcycled container that holds moister well
- Paints and brushes
- Scissors
- Cardboard
- Markers
- Glue
- Masking Tape
- Any other materials you would like to use to decorate your flowerpot creature
Project Instructions
- Lay out paint colors that you would like to use, then paint whichever colors or patterns you would like.
- Once container is completely painted, set aside to dry. This could take 10 to 20 minutes depending on the paint.
- Using the sharpie, draw two large doorway-shapes onto the cardboard (These will be used for the eyes of the creature.)
- Cut out the shapes.
- Using paint, cover the cut outs completely.
- Set aside to dry.
- Flowerpot creature come in many shapes and sizes! For our creature we are adding a unicorn horn!
- Using the rest of the cardboard, curve into a tunnel-cone shape, making a narrower tip. (Kids may need help from an adult with this step.)
- Tape the cardboard cone together using masking tape.
- Cut the bottom end of the cone to make it flat and the size you'd like.
- Paint the tunnel and set aside to dry.
- Once dry customize your horn by draw dots or other patterns using markers or other decorations.
- Take the container and secure the eyes on with glue and let dry.
- Once the eyes have dried glue down the tabs of the horn. Wait for it to dry.
- Once the horn has dried, glue on pom poms or whatever other decorating materials that you have on hand
- Wait for glue to dry before adding dirt and seeds
- And there you have it, your own flowerpot creature!