Easter Egg Project
AGE RANGE: PROJECT SHOULD BE EASILY ACCOMPLISHED BY AGES 4 AND UP WITH HELP FROM PARENT OR GUARDIAN
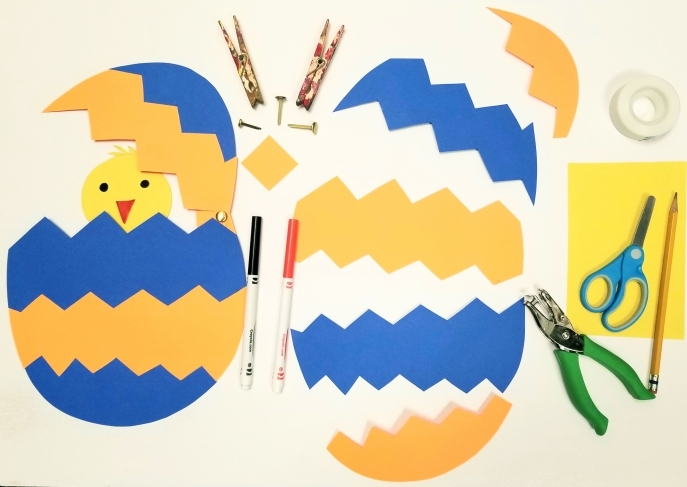 Easter is coming, and it is time for this little chick to break out of its shell. Wait a minute, how come this shell is so colorful? Does anyone know? Oh wait, we did it! Join the Artmobile and make your own beautiful paper Easter’s egg.
Kids and families can put layers of paper together and use scissors to make the egg’s design and tape them together with the optional cracked open egg with a chick inside.
EDUCATIONAL OUTCOME:
Children will have an opportunity to develop fine-motor skills when using scissors, tape and pins as well as develop shape recognition, concentration, patience, and sense of achievement with paper puzzle.
Art Materials Needed
- Construction paper or thin cardstock paper
- Scissor
- Tape
- Clothes pin
- Paper pin
- Markers
- Pencil
Step 1
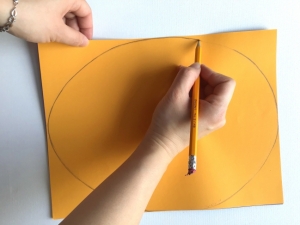
Draw oval egg shape on piece of paper.
Step 2
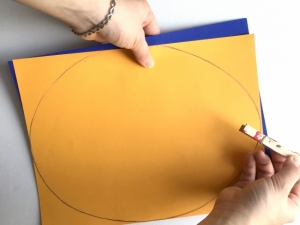
Use clothes pin to pin 2-3 layers of paper together.
Step 3
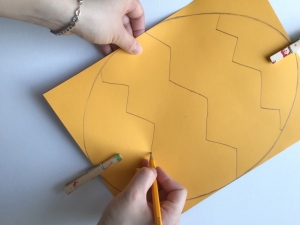
Use pencil to draw egg shape and design.
Step 4
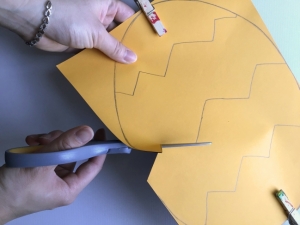
Cut egg shape and design.
Step 5
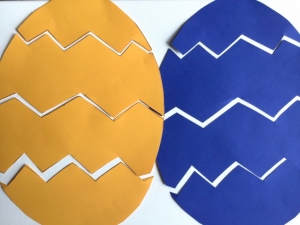
Separate each piece.
Step 6
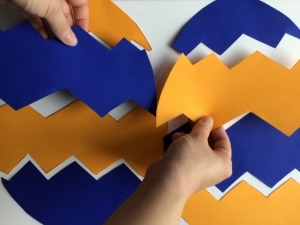
Put them back together life puzzle with different colors.
Step 7
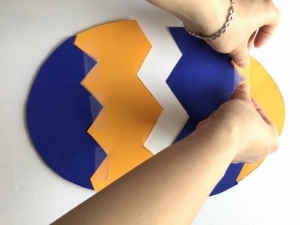
Tape them together as multi-color eggs, top half and bottom half.
Step 8
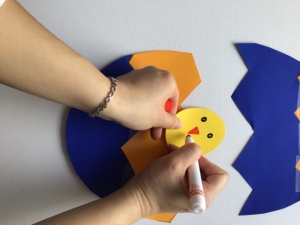
Create a yellow circle and cut out for your chick. Draw on chick's face with a marker.
Step 9
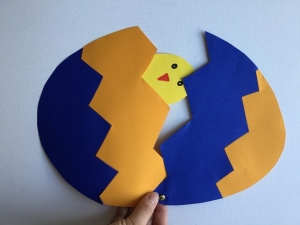
Tape chick on the back side of the egg so it is peaking out of the bottom half.
Either paper pin so the shell is moveable or tape the edges of egg together.
Either paper pin so the shell is moveable or tape the edges of egg together.