Changing Seasons Artwork
AGE RANGE
The project should easily be accomplished by ages 4 and up with help from a parent or guardian.
APPROXIMATE TIME
30 min - 1 hour
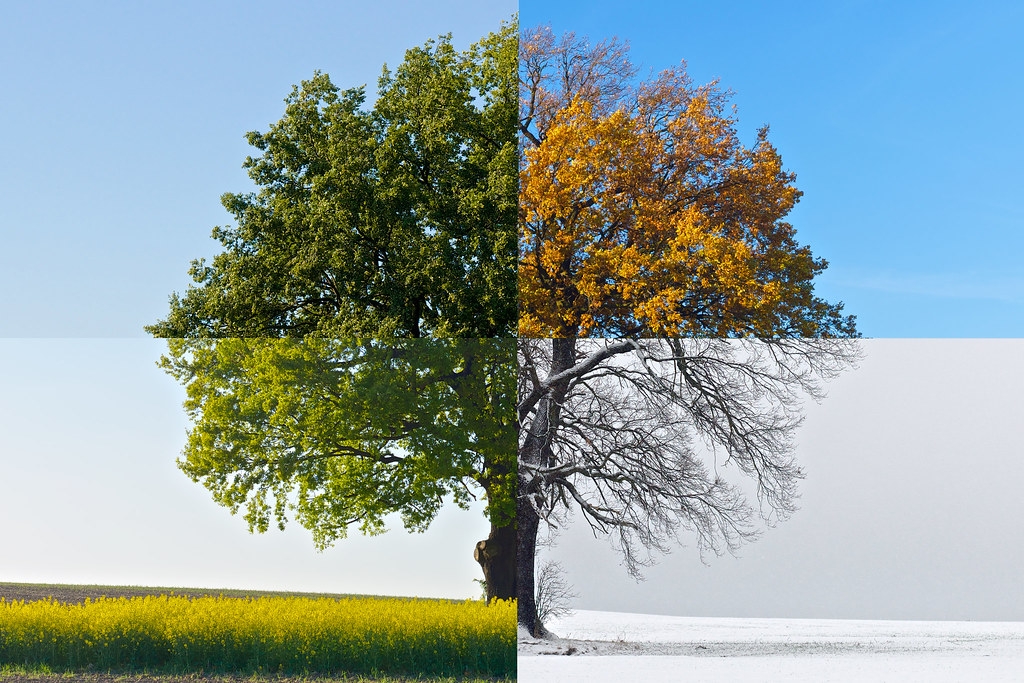
Here in the Midwest, we experience four seasons. This week with ARTmobile@home we are going to explore the seasons that we experience and why they occur!
EDUCATIONAL OUTCOME
Kids will learn about the four different seasons and why they occur while completing a hands-on project.
When we think of the seasons of the year, we usually think of the climate that accompanies it. But why do the seasons change? The answer is because of the Earth’s axis. The axis is an imaginary line that goes through the center of the planet that the Earth spins on, creating day and night.
Because this axis is also at an angle, it creates seasons! During the winter in the northern hemisphere, the surface of the Earth is tilted away from the Sun, meaning that days are shorter, nights are longer, and the heat from the sun isn’t as direct. But, this also means that the season is the opposite for the Southern Hemisphere. When we are in the middle of the winter in the Midwest, countries in the southern hemisphere are in the middle of their summer. During spring and fall, the angle that the Sun hits the Earth evens out, meaning that days and nights are about equal in length.
Learn more interesting facts about seasons from the Mocomi website.

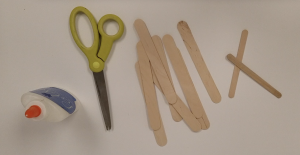
- Jumbo popsicle sticks
- Small popsicle sticks
- Glue
- Paint
- Paintbrush
- Green and purple tissue paper
- Cotton balls
- Red and yellow paper scraps
- Scissors
- To begin making the first mini-season, line up six jumbo popsicle sticks.
- Next, cut off the ends of two smaller popsicle sticks and glue them down horizontally. Repeat this step three more times so you have four palettes total.
- Once the glue has dried, paint one black, one blue, one pink, and one orange. Each color represents a different season.
- Set the pallets in a square shape, with the black being in the bottom left corner, the pink in the top left, blue in the top right, and the orange in the bottom right
- Next, paint a trunk onto the bottom palettes and branches onto the top ones.
- Take the black palette, which represents winter, and create snow by pulling apart cotton balls to make smaller fibers. Secure them onto the palette with glue and repeat this process until the bottom is completely covered.
- Next, grab the spring palette and a couple of square pieces of purple tissue paper.
- Roll the pieces of tissue paper into small balls and glue them onto the branches. Repeat this process until the branches are filled and look like spring flower buds.
- For summer, create leaves by cutting a piece of green tissue paper in half and crumpling it up. Secure them onto your palette with a generous amount of glue. Repeat this process until you are happy with the number of leaves on your tree.
- Next, grab the fall palette and square pieces of red and orange tissue paper and crumple them into small balls. Glue the paper balls onto the base of the tree to look like fallen leaves.
- Finally, place your pallets next to each other to see the tree in all four seasons and you are done!